Use a USB Microphone with ASIO4ALL
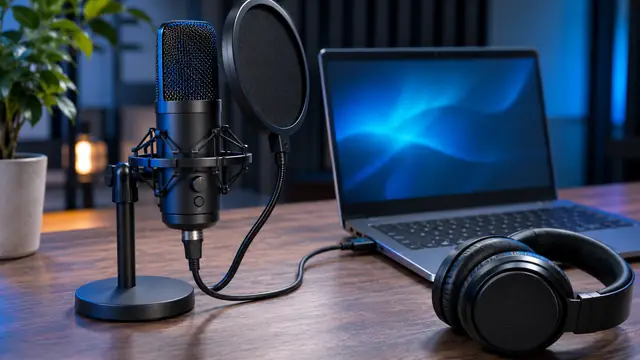
A USB microphone can appear as an ASIO4ALL input when Windows exposes it as a compatible device. Set up the mic in Windows first, then select the recording input and headphone output in your recording app. A short test can show exactly where the signal stops.
In this guide
How to use a USB microphone with ASIO4ALL
To use a USB microphone with ASIO4ALL, first confirm the mic works in Windows sound settings, then select ASIO4ALL v2 in your DAW and enable the microphone's input plus your headphone output in the ASIO4ALL control panel. Finally, route the microphone's single channel to a mono track, arm it and record a short test. If Windows can see and hear the mic, ASIO4ALL can usually use it.
Most USB microphones do not include an ASIO driver of their own. They rely on the standard Windows driver, which is exactly the kind of WDM device ASIO4ALL is designed to sit on top of. That is why a USB microphone with ASIO4ALL is such a common setup for podcasters, streamers and home vocal recording on Windows 10 and Windows 11.
The setup in four stages
- Windows: the microphone is detected, produces a level and apps are allowed to use it.
- ASIO4ALL: the mic input and a headphone output are enabled in the control panel.
- DAW: ASIO4ALL v2 is the selected driver and the mic channel is enabled.
- Track: a mono track uses the mic input, is armed and records cleanly.
Confirm the microphone in Windows
Connect the microphone and open Settings › System › Sound. In the Input section, choose your microphone and check its level as you speak. On Windows 11, the device properties include a microphone test that can record and play back a short sample. Microsoft's microphone setup and testing page describes the same steps.
If the mic is missing here, check its cable, port and manufacturer instructions before changing ASIO4ALL settings. Try a different USB port, preferably one directly on the computer rather than a hub. ASIO4ALL cannot show a device that Windows itself does not detect.
Check microphone privacy permissions
If the device appears but your recording app receives silence, check Settings › Privacy & security › Microphone on Windows 11. Microsoft lists separate controls for device access, app access and desktop app access in its guide to microphone permissions. Most DAWs are desktop apps, so make sure that last switch is on.
Watch out: Close the Windows test after confirming the signal so the DAW can open the microphone. The same applies to video call apps, browser tabs using the mic and streaming software. A device held by another app may show as unavailable in ASIO4ALL.
Enable the USB microphone in the ASIO4ALL panel
The selected device determines which channels your recording software can see. ASIO4ALL builds one virtual ASIO device from the WDM inputs and outputs you enable, so the panel is where you decide that the USB mic is your input and which jack feeds your headphones.
- Open your DAW's audio preferences, select ASIO as the driver type and choose ASIO4ALL v2.
- Open the ASIO4ALL control panel from the DAW. Enable the microphone's input and the output connected to your headphones.
- Expand the device entries in advanced mode if you need to select an individual input or output. Disable inputs you are not using, such as a laptop's built-in array mic.
- Set a starting buffer of 256 samples and close the panel.
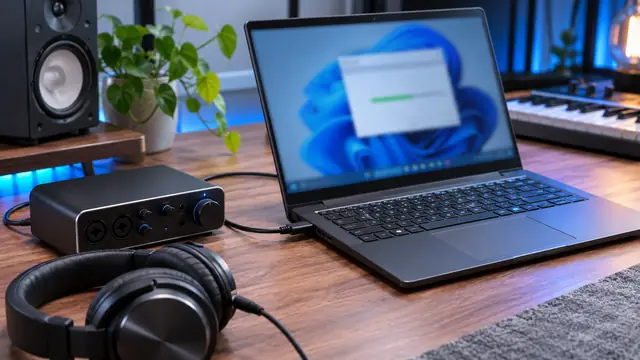
The ASIO4ALL getting started page explains how the panel is opened from the host and how devices are switched on and off. If you are not sure ASIO4ALL is installed correctly, the installation guide covers the current ASIO4ALL_2_22.exe installer.
Note: ASIO4ALL 2.22 changed its default settings so that Qualcomm Aqstic mic array input works, and added native ARM64 and ARM64EC support for Windows on Arm. If you record on a Snapdragon laptop, use the current release.
Route the microphone to a mono track
A typical voice mic uses a single channel, so a mono track or mono input is usually appropriate. Recording a mono source onto a stereo track either wastes space or leaves the voice on one side, which is a common surprise for new podcasters.
- Enable the input in the DAW if its preferences expose a separate channel list.
- Create a mono audio track and assign the microphone's channel as its input.
- Arm the track and speak at your normal distance. Check that the meter responds.
- Adjust the mic's gain or the Windows input level so loud phrases peak well below the top of the meter.
- Record a short sentence. Stop recording, switch off track monitoring if you used it and listen back through the selected headphone output.
Where to find input settings in popular DAWs
| DAW | Driver menu | Where to pick the mic channel |
|---|---|---|
| FL Studio | Options › Audio settings | Mixer insert input selector |
| Ableton Live | Options › Settings › Audio | Input Config, then the track's Audio From menu |
| Cubase | Studio › Studio Setup › Audio System | Audio Connections (F4), Inputs tab |
| REAPER | Options › Preferences › Audio › Device | Track record input menu |
The menu names differ, but the logic is identical everywhere: ASIO4ALL decides which device channels exist, and the DAW decides which of those channels feeds which track.
Choose a stable headphone output
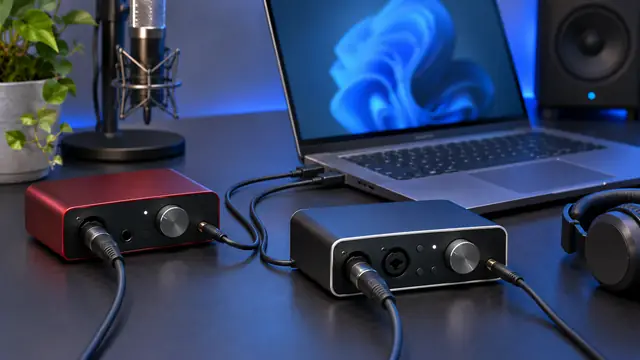
If the mic has a built-in headphone jack, check its manual for playback and direct monitoring options. Using input and output from the same unit simplifies routing. ASIO4ALL then deals with a single device and a single clock, which is the most reliable arrangement.
When the mic and headphones are on different devices
When the mic and headphones use different audio devices, their clocks may drift and cause pops or gaps over a long take. Each USB device and the laptop's built-in audio run from their own crystal, and small differences add up over minutes. ASIO4ALL can combine devices, as its device aggregation page describes, but it is a compromise rather than a perfect sync.
Rehearse for a few minutes using the same devices and sample rate you intend to use for the session. A thirty minute podcast is a far better test than a ten second clip. Our device aggregation guide explains the trade-offs.
| Headphone output | Clock | Best for |
|---|---|---|
| Mic's own headphone jack | Shared with the mic | Long takes, podcasts, vocals |
| Laptop headphone jack | Separate from the mic | Short takes and quick demos |
| Separate USB headset | Separate from the mic | Short takes; test carefully first |
Latency, monitoring and buffer size
When you monitor your voice through the DAW, you hear it after the input buffer, the processing and the output buffer. With a USB microphone and ASIO4ALL, that round trip can be noticeable. One buffer of 256 samples at 48 kHz is about 5.3 ms, and 128 samples is about 2.7 ms.
Practical options
- Use the mic's hardware direct monitoring, if it has a headphone jack and monitoring control, and turn off DAW monitoring.
- Lower the ASIO4ALL buffer to 128 samples for tracking if playback stays clean.
- Raise the buffer to 512 samples, about 10.7 ms at 48 kHz, for editing and mixing.
- Keep the project and the mic at the same sample rate, commonly 48 kHz for voice and video work.
The ASIO4ALL buffer size guide explains how to find the lowest stable setting for your computer.
Tip: If the mic meter moves but you hear nothing, check the track's monitoring mode and the DAW master output assignment. The recorded test is the simplest way to separate a working input from a playback problem.
Troubleshoot a USB microphone in ASIO4ALL
Work from the outside in. If the problem shows up in Windows too, fix it there before touching the ASIO panel or the DAW.
Common symptoms and first checks
- Mic missing from the ASIO4ALL list: confirm it appears in Windows sound settings, then reopen the DAW.
- Mic listed but unavailable: close any app that may be holding it, including the Windows microphone test.
- Meter moves, recording is silent: check that the track input is the mic channel, not another enabled input.
- Recording is fine, playback is silent: check the headphone output in the ASIO panel and the DAW master routing. The no sound guide covers this.
- Clicks during long takes: move headphones to the mic's own jack or raise the buffer one step.
Write down the device, sample rate and buffer that work. Restoring a known good setup is much faster than starting over.
Frequently asked questions
Not always. Many recording apps can use a USB mic through standard Windows drivers. ASIO4ALL is useful when your DAW works best with an ASIO driver and the microphone does not ship with one.
A voice mic usually provides one channel. If it is recorded onto a stereo track, the signal may land on one side. Use a mono track with a mono input, and the DAW will place it in the centre by default.
You can enable more than one device in the panel, but each USB mic has its own clock. Over long recordings that can cause drift, pops or gaps, so test a full length session before relying on it.
Yes. ASIO4ALL is free for end users, including commercial audio work such as a paid podcast. Resale and bundling are restricted by the publisher.
Sources and further reading

We write expert, hands-on guides for Windows musicians, podcasters and producers. Driver facts are checked against the publisher's manual and release notes; DAW steps against each vendor's documentation.